So it’s Christmas. Probably. Or at the very least some form of annual festivity marking the burgeoning of youth or the passage of time. Either way, one thing is clear, you (or someone for whom this research is necessary) has received a drum kit……! Perhaps you’re a parent (maybe niggled by the creeping fear that this may have unleashed the slithering hordes of madness into your otherwise peaceful home) or perhaps these are your Very. First. Drums. Either way, we’ll get through this, and hopefully, we’ll have some fun….
Setting up drums for the first time is, and should be, loads of fun. They’re so new, the discovery, what the hell does that part do (?), I have to tune these (?), I told you we should have bought an electric kit, if Jimmy doesn’t stop hitting things before I figure this out I swear I’ll……..ah the joy. It’s what Christmas (or insert festivity) is all about.
So, to business.
1. The Boxes
You’re faced with two, perhaps three boxes. Perhaps it’s only one gigantic box but this is considerably less usual, so we’ll stick with the two/three box gambit for now.
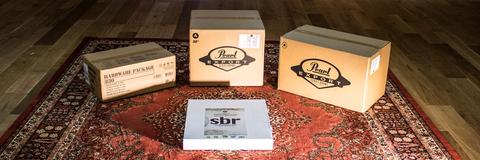
Open the boxes. Take everything out so you know what you’re working with and discard any packaging, clearing the space for some serious drum building. Not that I’m saying drum building is serious, but it’s good to pretend. For now. Be careful not to discard anything important, some of the bits will undoubtedly be rather little, but make room as it’s much easier to have fun building things in a tidy workspace.
I know, I know, I’m such a bore…
2. The Components
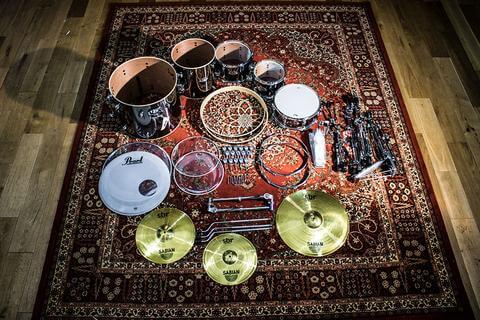
Let’s do the easy bit first. Some of the drums you have unboxed will be entirely complete (Yay!) and require nothing more than tuning (You didn’t think it was going to be that easy, did you…?) but let’s leave tuning for another day and get the drums set up. Chances are you will have three, fully complete drums and the likelihood is that these will be the Hi Tom, Mid Tom and Snare Drum. The Snare Drum (ooooh) will be identifiable by the wires running across the bottom skin (a technical term for the membrane thereupon) and should have a white head (a term interchangeable with skin) on the top side.
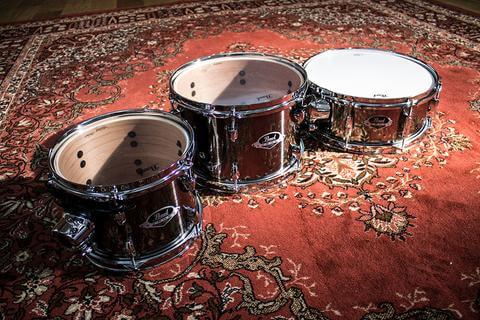
So, three drums. Don’t they look lovely? How the hardware gleams. The unsung rhythmic potential practically shimmers within! I can hear High Bohnam and the Dark Baker breathe duel sighs of approval….
Okay, things may get a little more tricky now but it’s all pretty straightforward……really, I promise…..
3. Constructing The Bass Drum
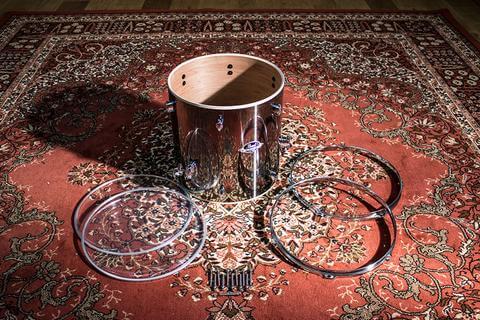
The Bass Drum is usually a good beast to tame next. This will be the largest drum shell you have unboxed and it will require the heads, hoops, claws and rods (all of which will make perfect sense shortly).
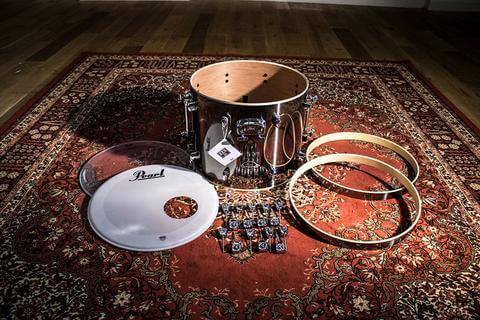
Get the drum shell and make sure all packing and styrofoam and whatnot has been removed. Next get the two largest drum heads. You should have one head which is clear and one head which is either black or white.
As an aside, drums have two sides and correspondingly named drum heads. The top or front is called the batter side (unsurprisingly really, the secret’s in the name) and the bottom or back is called the resonant or reso, due to its resonance…..you get the idea…
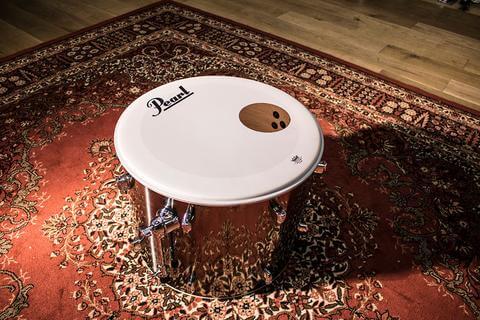
Start with the back head (which is white in this case). Place the drum flat on a soft surface so the end with the bass drum legs (spurs these are called) are closest to you. Place the black head onto the drum and make sure the logo on the head is straight. (Please make sure it’s straight. Please….) Next, get yourself one of the bass drum hoops. One of these hoops may have a small, black plastic strip on it, which is where the bass pedal will attach. Not all kits will be shipped like this but if so, you want the other one.
So, place this hoop on top of the drum head and it’s time to fasten this bad boy down. You will have been supplied with lots of small metal hooks and lots of threaded tension rods. You need the longer rods. For each shiny metal box (we call these lug boxes, they have a small threaded hole in the top) on the side of the drum, you want to put a tension rod into the little claw, put the little claw over the hoop and then finger tighten the tension rod into the threaded hole on the side of the drum.
Boom! You’re building drums! See? Not a bother.
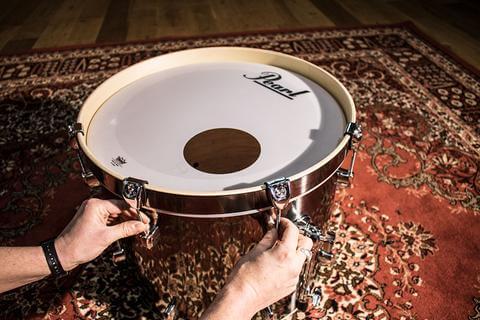
Anyway, continue all the way around the drum, there will likely be 8 or 10 for you to do. After these have been lightly finger tightened you will need the drum key. This invaluable little fella will bear passing resemblance to Thor’s mighty hammer, and is a one stop multi tool for drum maintenance and tuning.
You want to make sure all the screws are an even tension, which is the basis for drum tuning. For now, I’d say get it as close as possible and in time refer to various internet sources and Practice Your Tuning. This bit is both important and widely overlooked and honestly in time, will not only make you a better musician, but will earn you more money. That’s studied, scientific fact. Seriously, there was an Institute in Switzerland or Norway or somewhere who studied it…..

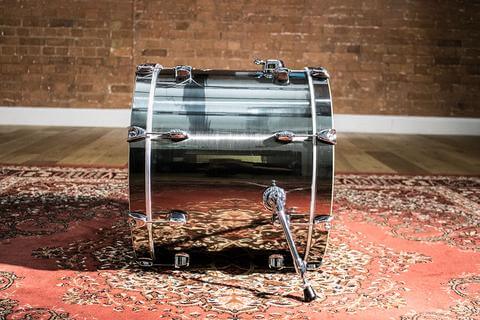
Right enough of this madness, let’s continue, things are going to get rather easy now we know what we are doing. Simply repeat the steps above with the clear head on the other side and BOOM, you’ve built the Bass Drum. Done. looks pretty pretty eh? I think so. So, put this aside and move on to the next drum, which is likely the Floor Tom.
Dun Dun Daaaaaaa……
4. Constructing The Floor Tom
Again, we’re dancing now, this practically builds itself! Place the bottom head on the drum (this will be the side closer to the leg boxes; three openings on the side of the drum for the straight legs) and repeat the steps above. Except for the claws bit, these rods go straight into the hoops. I’d imagine that’s pretty straightforward from looking at it though. Right, flip the drum over and repeat.
BOOM!!! You’ve done it again!!
At this point maybe stand back, enjoy a cup of tea, eggnog, pint of sherry, whatever takes your fancy, and admire what you’ve accomplished thus far. I feel good about it, you should too. I feel great actually, but maybe that’s the sherry talking….
We’re nearly there. Aren’t we? Where were we going? Ah, nowhere, we’re doing Drums! Right! Just give me a minute, I feel a little woozy…
5. Let’s Put This Puppy Together
Okay. Five, fully complete drums practically vibrating with potential music. Remember, if anyone ever tries on the whole “Drums aren’t a musical instrument shtick”, you are now duty-bound to challenge them to knuckle dusters at dawn. Or maybe save it for a little after noon, you may feel a touch peaky after all the sherry.
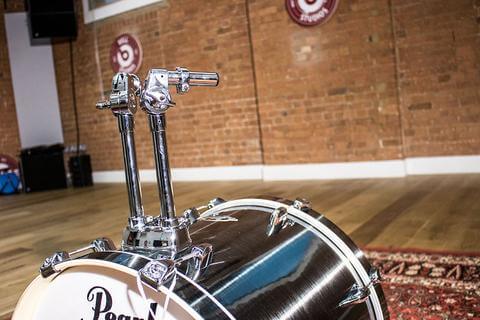
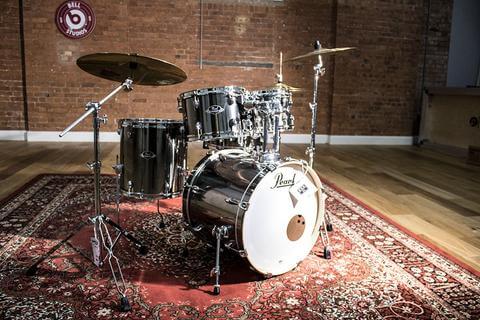
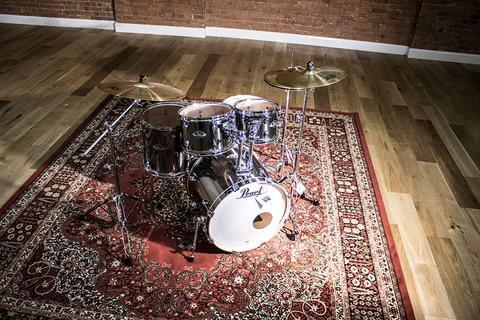
Stand the Bass Drum up and extend the two legs, clear head facing where you (or the drummer) will sit. Now it’s getting real. On top of the Bass Drum there will be an opening for you tom arms which are hinged metal arms to mount the two smallest drums. Place these in the receivers and place the two smallest drums on the other end, smaller to the left. Feel free to angle these as you see fit but due to Science (real Science this time) the steeper the angle of these Drums, the more sticks you will break. So bear that in mind.
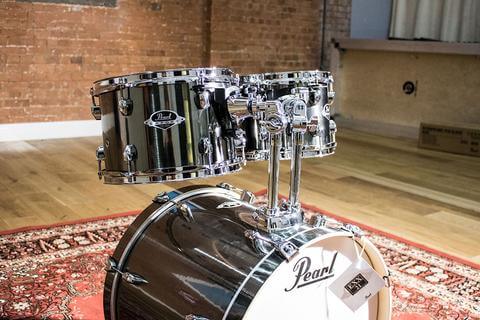
Okay, so. Next let’s get the Floor Tom and stand it up on the three thin little legs that will slide into the leg boxes we mentioned earlier. Stand this up to the right of the larger tom on the bass drum and you should have three, descending toms mounted in a row. Two on, and one beside, the Bass Drum. BadaBoom!!
Put the pedal on the bass drum. Give it an experimental kick. Yeah? Too high? Boingy? Loosen the screws a little (but keep them even) Too Low? Flabby? Tighten the screws a bit (but keep them even….you get the idea…)

Get the hardware out. We need a stand for the Snare drum and we’ll have all five drums set up. Together. We did it together. I mean it was mostly you and I spilt a lot of my drink. Maybe let’s have another sherry in a minute eh…..

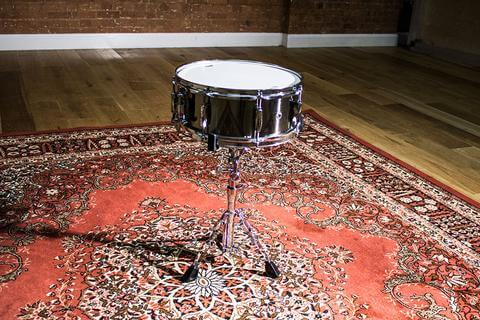
So, this stand will have two parts (possibly together) but will have short legs and a basket type end with three arms that end in little rubber L shapes. Extend the legs and set it so the basket is flat. Place this in front of the smallest Tom, and place the Snare into the basket. Man, these really look like Drums. You want to be able to place your right leg between the Snare drum and the Floor Tom to play the Bass Drum. Does that work?
Nice!!!! Maybe just have a quick tickle for good measure. We’ve come this far, I feel like you deserve it. I’ll be over here. Yes, with the sherry. What? Don’t look at me in that tone of voice…
Lastly, let’s get the cymbals on and we are Fishishedd. NO wait Fished. We will be, Finished.
Sorry, I’m gonna sit down for the last bit.
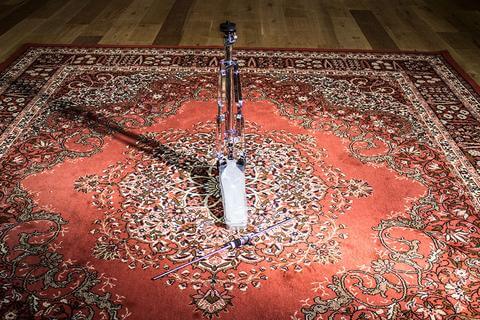
6. Now… The Cymbals
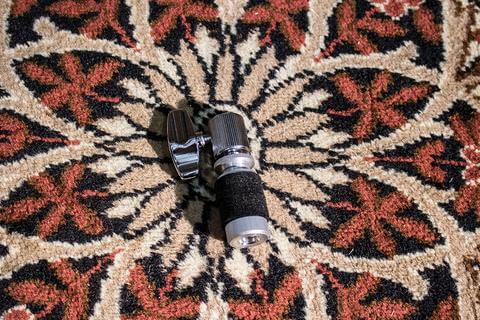
Hi hats first, as these are a tiny bit more tricky and definitely the most important of the two. You will have a stand that has three legs, a pedal sticking out and a long thin metal bar that extends from the top. Extend the legs and place the pedal so it is easily accessible with the left foot, while the right is resting on the Bass Pedal. On the thin metal piece you will have a removeable piece, called the Hi Hat Clutch A fantastical, wondrous creation that will cause you at least a little horror at some point in your gigging career.
Remember me when that happens.
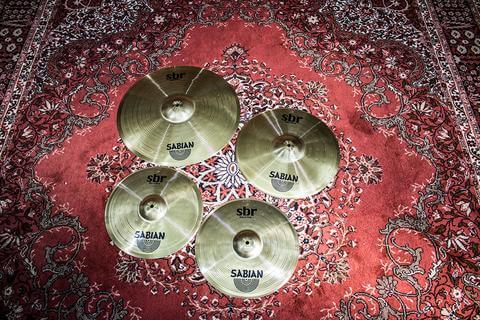
Take the clutch off and place the bottom Hi Hat cymbal (These may/may not be labelled as such. If not, go for the heavier one on the bottom) on the lower felt bit on the upright stand. Next get the clutch and unscrew the bottom nut and you will have released the two felts. Place the top Hi Hat between (Very important that bit) the two felts and reattach the bottom nut. Now slide the top cymbal over the thin metal bit also and they should meet in a kind of UFO formation.
If they’re back to back or fit into one another, see previous steps and maybe take a break on the sherry for a minute.
Press the pedal on this slightly and when you have roughly a centimetre or two between the cymbals, tighten the small screw on the side of the clutch. Stamp them a little! Stampy, stampy stampy…Wait, no……I’ve done it again. Not stamping. Music, we’re doing music.
Man (or Woman, pardon me) we are really, really close now. I know I’ve said that before but it’s really, completely true this time. Shtick wiv me budddyy. I love you, and no, it’s got nothing to do with the sherry….
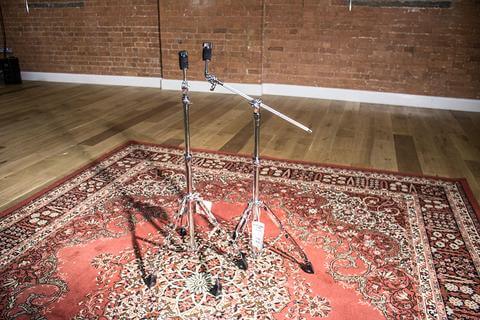
Okay, you’ll have one or two more cymbals and stands to match. The stands will have a three legged base and one or two top sections, culminating in a little screwy thingymadoo with some soft felty bits. These work exactly in the same fashion to the Clutch. Unscrew the little winged doohickey, take off the top felt, place cymbal on top of bottom felt and re-apply in reverse order.
Which is exactly the same kind of process as Rocket Science. Honest. Now you have two new skills.
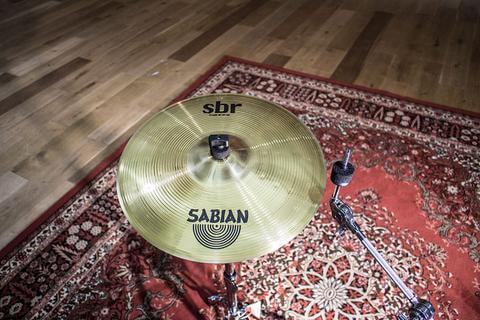
Place the cymbals on to the kit wherever you want really but proscribed notions would dictate that you need at least one other cymbal on the opposite side to your hi hats. These are your main time-keeping sources, which is your job now. The cymbal on your left is called the Ride cymbal…..
7. Now Time To Enjoy
Oh hang on. WE BUILT THE DRUMS!!! Aha! Snigger away! Snigger like the wind! Maybe even do some light cackling and just in case, do three of those really loud, repeated-single-honk, knee slapping laughs that one of your Uncles probably had. Only three though. Hey, and a little chortle never hurt anyone.
Oh. Except old Janson, but we don’t talk about him after the thing…..
DRUMS though!! You, we (mostly you) have done it. Play. Play the drums. Revel in them. Maybe play them with one hand (and two legses) and caress them with your free hand.
Be sure to give them a little wipe down after any caressing.
I’m proud of you. I’m going to toast our triumph, at least twice! Probably more!
All that’s left now is practice. Lots of practice and if you’ve managed to read at least half of this you’ll remember the need to practice your tuning. Also a lot! Huzzah. But it will eventually be glorious due to all the money and power and influence and sherry and so forth that you will be drowning in, due to your undeniable skill as a Master Drummer, Percussioneer, Tunist and Rockety Scientistarian.
Go forth my children and adults and furry people of the Drum.
Go Forth and Subdivide.

